term basics III : Scripting
this tutorial shows how to edit, run and terminate scripts with the term tool.
- Let's presume that a successful comlink with the device was already established (the device is connected, connection options were set, the driver was installed, etc.)
- Let's presume that you are familiar with the YOS scripting.
- Let's presume that your device is a working ESCx motor controller.
- For more information about the term tool, check the term manual page.
- For detailed information about all the YOS commands, check the relevant documentation.
How does it work
The term tool offers preprocessing and forwarding scripts to the device. The script is a text file that contains code in the language of the YOS/Shell interpreter. There are two ways to execute a script with term: stand-alone script and a preset script.
Stand-alone scripts
The term tool simply accepts the filename of the script as an argument. To try the examples below, copy and paste their code into a new file. Make the file with .ys extension (Yos_Script). The SWTools installer has assigned this extension to the term tool. You should see the icon of the file:
![]()
A good place to put your scripts is the working directory (i.e. c:\silixcon), however, any other folder will work too. Double-clicking the file will now start your script (through the term tool).
- These example scripts will only work with an ESCx motor controller because they are referring to the entries from its data model. You will likely receive an error upon attempting to run them on a different device.
- Do NOT execute these demonstration scripts on a controller that is actively engaged in a vehicle. Your vehicle may spontaneously accelerate and an injury may occur.
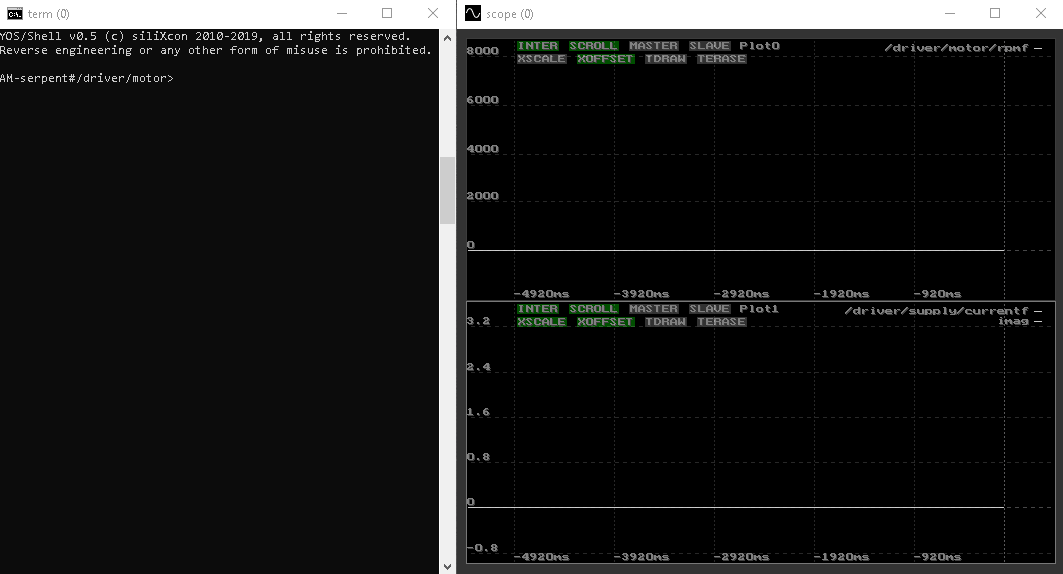
Example 1. Starting scope and sampling some variables
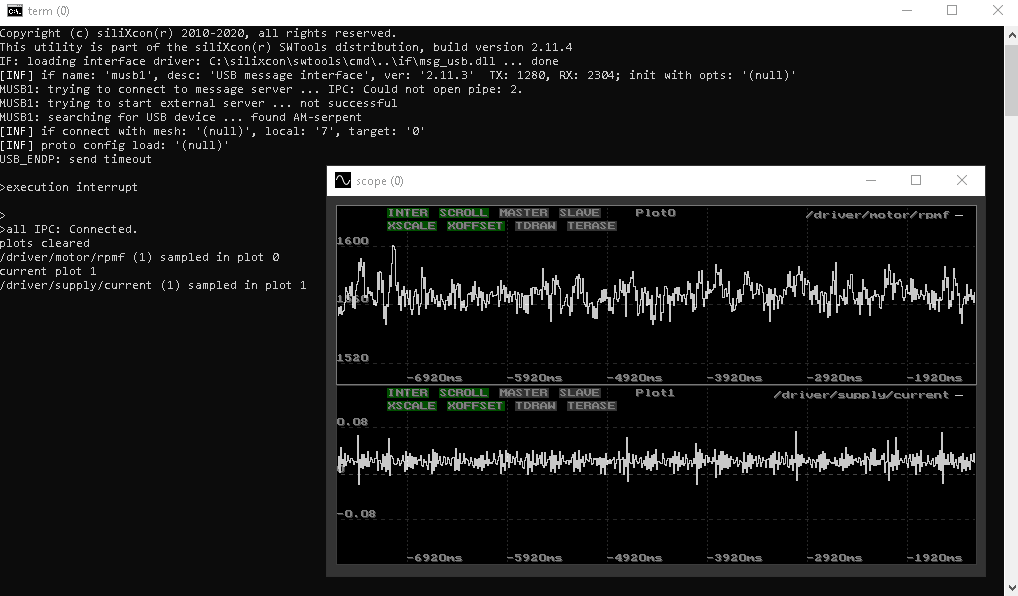
This example will first use some preprocessing directives to set up our environment (wait for the device, log in, start scope, etc). Then, it will set up the sampling of some variables (motor speed to the first plot and battery current to the second).
@w # Wait for the YOS/Shell to become responsive. Note that you may specify a timeout here.
@s # Start the Scope tool.
@c # Clear a running script (if any).
@! # Do automatic log-in.

# clear the sampling (if it has been set previously)
clear all

# sample the motor speed
plot /driver/motor/rpmf

# increment the plot index
plot

# sample the supply current in the second plot.
plot /driver/supply/currentf
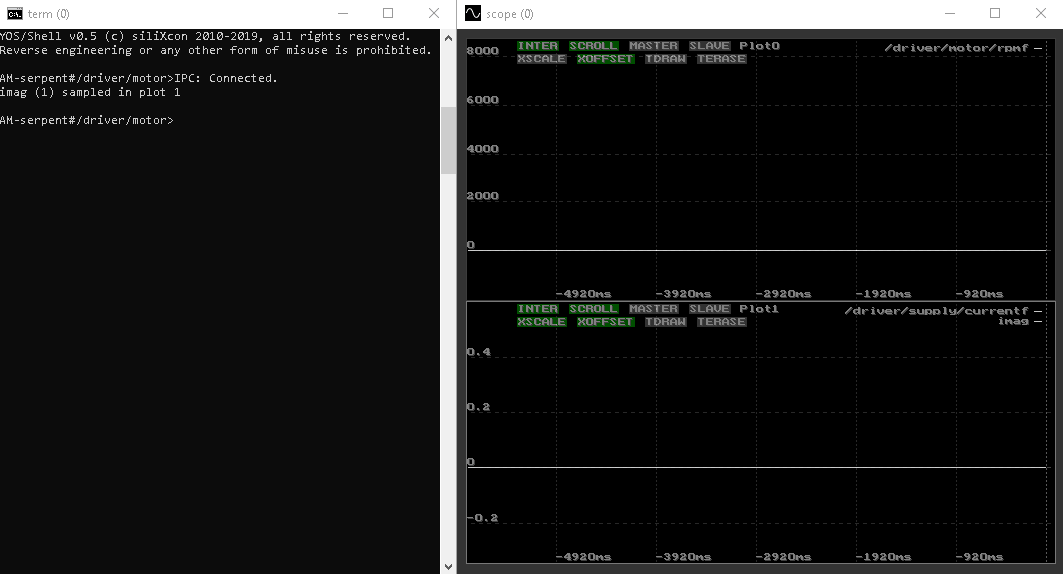
After double-clicking on the file with this code, you should get two new windows: an instance of term and an instance of scope. If the execution was successful and you have the correct device (powered up), you should get a result like this:
At this moment, double-clicking the file again will open a new instance of term (and scope, if directed). All tool instances will mirror the output and can be used simultaneously. To prevent new instances from popping up, use either preset scripts or close the previous instances (manually or with the exit directive from the code itself) before executing a new stand-alone script.
Example 2. Loop calculation (follow-up to the Example 1)
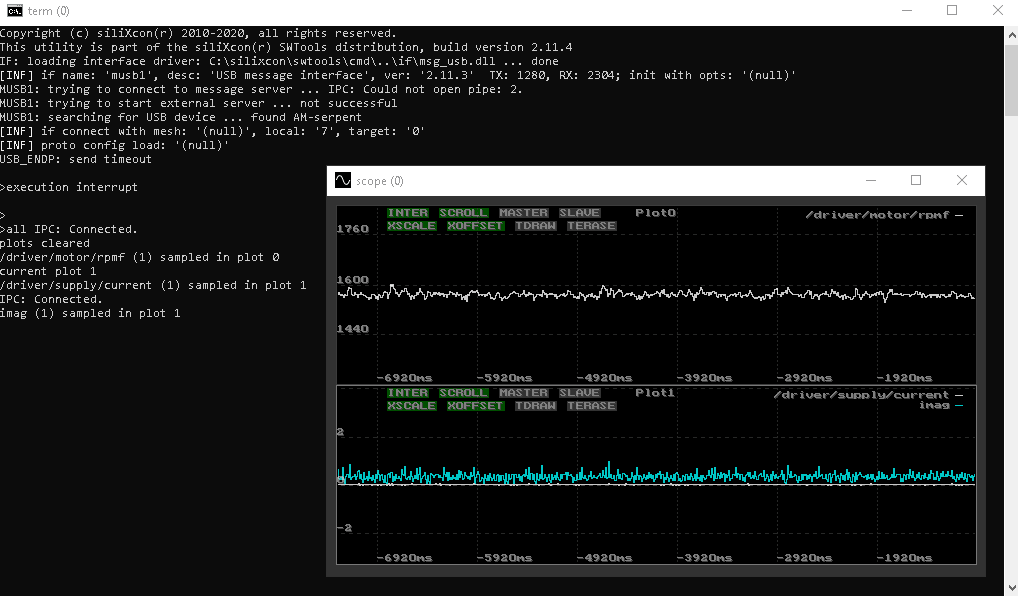
Sometimes, we may be interested in monitoring a derived value. I.e. one that is not natively present in the device. This example will allocate a dynamic variable imag, set up its sampling (into the lastly configured plot) and implement a detached loop to calculate the motor current magnitude in there.
# make a new dynamic variable called 'imag'
var imag float

# sample that variable in the last used plot
plot imag

# make a small, detached loop that evaluates the magnitude of the motor current
cd /driver/motor
{
  # The 'currentqf' and 'currentdf' are filtered readings of the D and Q components of the motor current.
  # To get the current magnitude, let's simply use the Pythagorean theorem:
  set imag sqrt((currentqf*currentqf)+(currentdf*currentdf))
  branch s
} & # The '&' character detaches the loop (it continues execution in the background until an interrupt signal is received (ctrl+c))
Let's presume you have run Example 1 and you see the scope window with incoming samples (as depicited above). Now, after running the Example 2, you should see a new trend (cyan) in the plot1, depicting the newly allocated imag variable. The value of imag is calculated onboard the device in the discussed loop. You may, of course, use any other custom calculation for your needs.
- The Example 2 code is dependent on the environment setup done by Example 1 code. You may surely merge the two codes into one file, to get the whole thing done in a single run.
- The detached loop continues to run in the background (until you send the interrupt signal with
ctrl+c). However, the loop shares the environment with the CLI. For example, if you change the working directory and the loop uses relative paths, it will stop working.
Preset scripts
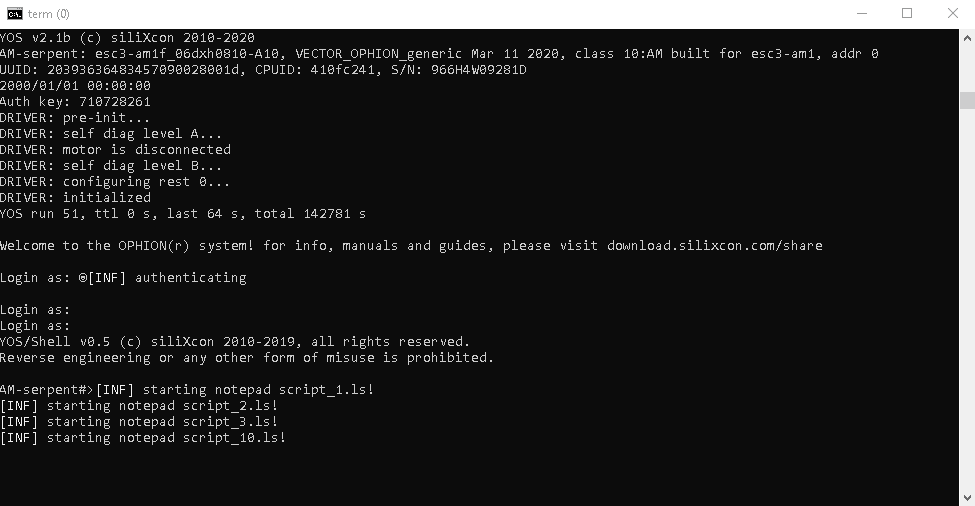
The preset scripts are intended for simple, custom work augmentation using small code snippets that can be triggered easily with a single keystroke. They can be run without starting a new instance of the term tool. There are 12 keys reserved for the preset scripts: F1 - F12. Each of the scripts will be saved in a file to the directory where term instance was started. The reserved filenames are script_1.ls to script_12.ls. Using the keyboard, from term, you can:
- edit with pressing
alt + F1up toalt + F12. This will open up a default system text editor (Notepad) on the corresponding filesscript_1.lstoscript_12.ls. If the file does not yet exist, the editor will prompt for verification to create it. - execute with just pressing
F1up toF12. You may repeat the execution as many times as needed.
Example 1. Hello, world!
Let's show the process of writing and executing some preset scripts. We will first map few keys (using alt + Fx):
F1to print out 'Hello, world!'F2to make a simple timing sequence withdelayF3to increase the/driver/irefparameter by 10 and print it outF10to reboot, wait for the device to become online and auto log-in
Okay. Now, let's run our presets by pressing F1, F2, F3 several times each and finally, F10 to see the results:
Example 2. Control and observe
In the last example, we will demonstrate combining both the Stand-alone scripts and Preset scripts. We will start by using previously introduced example codes of the Stand-alone scripts to set-up our environment and sample some variables with the scope. Once the environment is ready, we will create a few preset scripts and map them to run and stop commands of our ESCx controller:
F1report what was pressed andrun 0.1(run motor in voltage mode at 10%)F2report what was pressed andrun 0.2(run motor in voltage mode at 20%)F3report what was pressed andrun 0.3(run motor in voltage mode at 30%)F4report what was pressed andstop(stop motor)
Never perform these demonstration scripts on a controller that is actively engaged in a vehicle. Your vehicle may spontaneously accelerate and an injury may occur!
Finally, let's play with the F-keys to command the motor and see our measurements in real-time. We see how the motor is responding to our commands by changing the speed, phase current and also the battery current draw. We even see the battery current going negative when the motor is braking:
- You may write more sophisticated preset scripts to easily trigger the generation of more complicated command sequences, such as step responses, frequency sweeps etc.
- For more info about the ESCx architecture: commands and entries, please refer to its application-specific manual.